With the Holidays and workshops, I have been spending a lot of time in my Creation Station. Since most of what I've been doing isn't for Creative Therapy's sake, but mostly things that I have to get done, I feel I need to throw in a little "fun" too. So, each day I was down there, I gave myself a break and made a paper ornament.
I have from several years ago, two Stampin' Up! dies shaped like Christmas ornaments. In the past I have made Easter eggs using oval shaped dies, as well as fall pumpkins using circle dies. Those always turned out so cute, I thought, why not try some acual Christmas ornament-shaped pieces?
I searched out Christmas-y paper I have in my stash, not necessarily just Stampin' Up! papers. Anything that fit the occasion was fodder for my madness.
This is the first time we've had a Christmas tree in at least ten years, probably more. You see, our late kitty, Fred (who died in February), loved the ornaments a little too much. He would somehow get them down and EAT OFF THE CORDS that they hung from. So all these disabled ornament would gather under the tree, and I'd have to repair them in order to put them back on the tree, only to have Fred attack them again. I finally gave up.
Now, with him out of the picture (sob!) we have finally put up a tree once again. It is mostly lights, a few metal "icicles" and a handful of ornaments, all paper, that I've made recently.
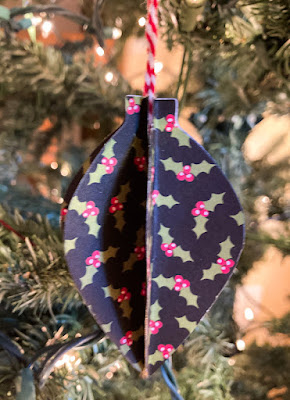
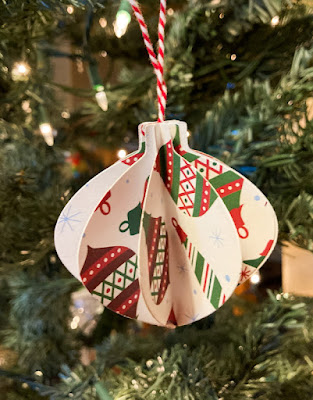
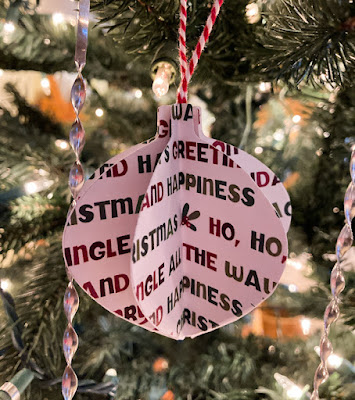
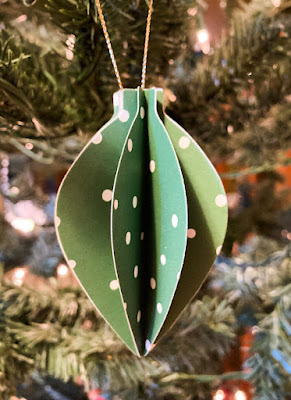
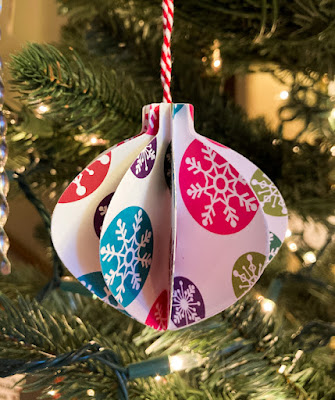
In these <bad> photos, I present to you all nine of the "break time" ornaments I made in the past few weeks.
At the end of the post, I will tell you how to make ornaments such as these.
Once again, I apologize for the quality of the photos as our tree is in a weird location with inadequate lighting. But you get the idea.
Wow! What a stunning display, eh? I know they're not all that great, but they make me smile and feel a little happy.
To make these wondrous ornaments, die cut or punch eight pieces. These can really be done with almost any shape, including circles or STARS! (hey! now I have to go down there again!) I love the star idea!
Fold each of the eight pieces, with the side you want to show on the ornament on the inside of the fold, in half. I crease each folded piece with my bone folder. Basically you just glue all eight of these pieces together, back to back. It is important that, as you are gluing them together, to match up each of the edges.
Take a length of the cord you want to use as your hanger, fold it in half, and lay it flat down the center of the folded up ornament. Use a piece or two of tape to hold these cord ends in place.
Put glue on one of the sides, and gently fold the two ends together to make a sealed unit, meeting the two edges as well as possible.
It seems that no matter how careful I am, I am never able to exactly match up the edges. If this happens to you, do what I do. Take a paper snips and trim off the unruly edges. Then, if it still bother you, you can sponge the edges with a coordinating color of ink.
They are really very easy to make. If not for the awful arthritis I have in my hands, I probably would just keep on making them, one right after another. But I have to stop after just one.
I hope you are having fun with your decorating, no matter which holiday you celebrate!
Ornamental
Smiles.


