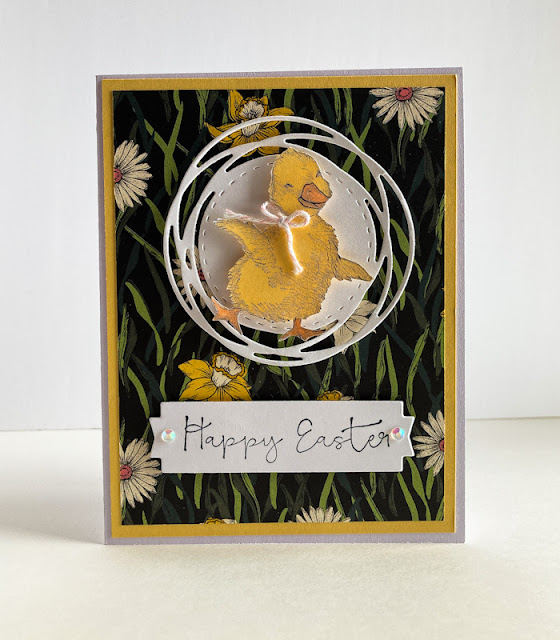
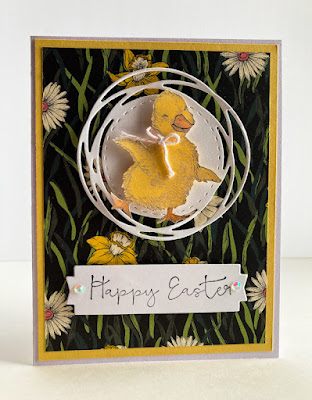
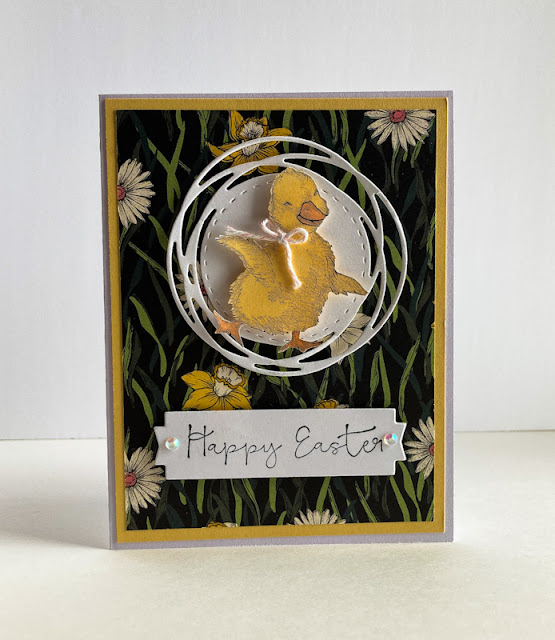
I realize that the sentiment on this card reads "Happy Easter," but don't you think this card would also be darling for a new baby or a youngster's birthday?
When I spotted Easter Friends in the mini catalog (page 27), I immediately fell in love with these cuddly critters.
The dimension in this card comes from a handful of Stampin' Dimensionals. They pop up the cute swirly circle on which the duck rests, as well as the ducky himself. His baker's twine bow adds a little interest too.
I thought the beautiful spring-y floral of the Daffodil Afternoon Designer Series Paper I got during Sale-A-Bration added just the right touch of whimsy/realism.
I did have a difficult time stamping this duck image. I couldn't get enough detail no matter what combination I tried. I ended up adding a bit of detail with a black Fineliner pen.
If you would like to make a card like this for an occasion other than Easter, here is how to do it:
SUPPLIES:
White cardstock
So Saffron cardstock
Daffodil Afternoon Designer Series Paper
Gray Granite ink
Black ink
Stampin' Blends in Dark So Saffron and Light Pumpkin Pie
Easter Friends stamp set (page 27, Mini Catalog)
Die Cutting/Embossing Machine
Lakeside Framelits dies (retired)
Painted Labels dies (page 172, new Annual Catalog)
Iridescent Rhinestones (page 9, Mini Catalog)
Pink/White baker's twine
Stampin' Dimensionals
Thin black marker
Paper Snips
DIRECTIONS:
Fold a 5 1/2" x 8 1/2" piece of white cardstock in half, creasing it well with a bone folder.
To this add a piece of So Saffron cardstock that measures 4" x 5 1/4".
Add a 3 3/4" x 5" piece of the DSP.
From white cardstock, die cut a squiggly frame using one of the dies from the Painted Labels Dies. Set this aside for now.
On white cardstock, stamp the duck in Gray Granite ink. Color in the duck with So Saffron and Pumpkin Pie Stampin' Blends.
Because the features of the duck don't show up terribly well, use a fine tipped black pen to add in a few lines here and there, especially on his eyes and bill.
Tie a pink and white piece of baker's twine into a small bow and adhere it to the duck's neck.
With Stampin' Dimensionals, add the duck to the squiggly frame. Add this to the card front, keeping even margins at the top and sides.
On white cardstock, stamp the sentiment in black ink. Using the label die from the Lakeside Framelits dies, die cut the label.
With Stampin' Dimensionals, add the sentiment towards the bottom of the card.
Add an Iridescent Rhinestone on each side of the sentiment.
Ducky
Smiles.


Such a cute duck.
ReplyDeleteThanks for linking up at the Making a Home - Homemaking Link Up!
Thanks, Linda. I agree that the duck is darling!
DeleteOH I absolutely think this card could be used for more than just easter! What an adorable little duck.
ReplyDeleteThank you, Joanne! Did you invest in this set?
DeleteGreat card! You are right! This card could be for more than just Easter.
ReplyDeleteThanks, Fonda! I think so too!
DeleteAwwww….
ReplyDeleteYou make me smile, Michelle.
DeleteSuch a happy looking little duck. I think it came out great. And yes, it would be good for any other occasion and not just Easter. #HomeMattersParty
ReplyDeleteThanks, Donna!
DeleteYes. I absolutely think this would be an ideal card for a baby shower or young child's birthday. The little duck looks so happy!
ReplyDeleteThank you for participating in Talent-Sharing Tuesdays Link-Up 17.
Carol
www.scribblingboomer.com
Thanks, Carol!
Delete